


We’re always inspired by our dear friend and DIY muse Geneva, and now with her new book Home Is Where You Make It we have so many DIYs while staying home to make our space extra special.
Up first ~ Beeswax Candles Project
You’ll need
Clean vessels
Beeswax
Wicks, wick clips, wick trimmer or sharp scissors
Wick stickers or double sided tape
Essential oils (Geneva’s picks are lavender or geranium)
Large saucepan, whisk, wooden skewers
TIP!
You can get creative with the vessels you use for your candles – use glass jars, vases, large bowls or even terracotta plant pots (with the drainage hole plugged).


How to
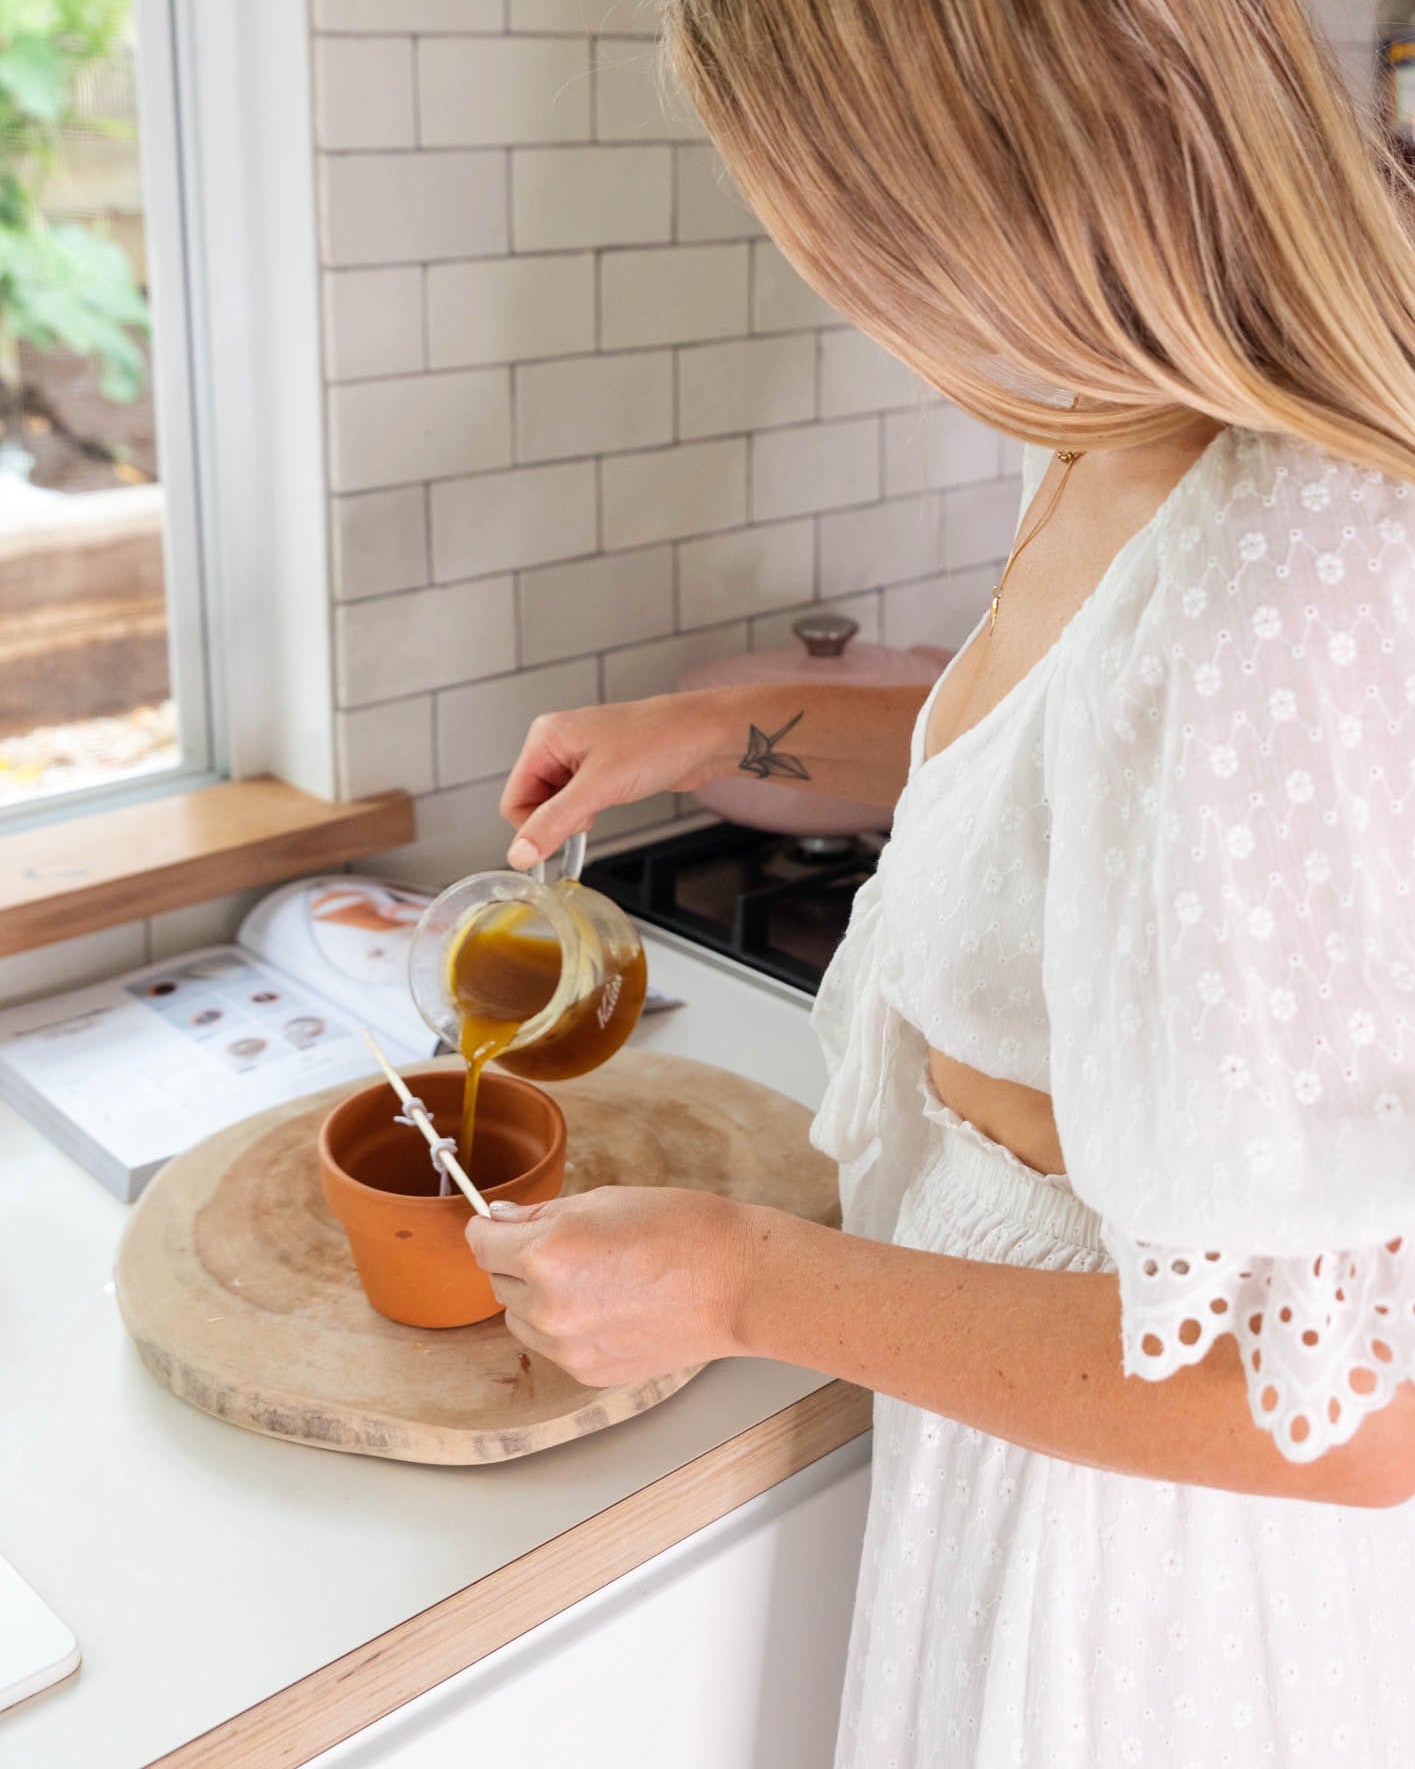
1. Cut the wax chunks using a knife, and place in a pouring pot. Bring a large saucepan of water to the boil, then hook the handle of the pouring pot over the side. The wax will start to melt over the boiling water.
2. While the wax in melting, slide a wick into a wick clip for each vessel. Using the wick stickers or tape, stick a wick to the base of each vessel. Place a wooden skewer across the top of each vessel and wrap the end of the wick around the skewer.
3. Once the wax is completely melted, whisk in 25 drops of your essential oil of choice.
4. Slowly pour the wax into the vessels, stopping about 1-2.5cm (1.2 – 1 in) from the top. Let the candles cool for 24 hours to allow the wax to completely harden.
5. Cut the wicks down using a wick trimmer or a sharp pair of scissors.
Done! Share your creations with us #spellDIY